Ok so after a fun filled morning, re-depositing my unspent money from the bonus bike swap back into the bank (never, ever happens), and some fuel in the form lamb gyro goodness, I head over to install two chains on two bikes belonging to Joe, one of the, “bike buddies” but also the father of Jenica. We get right to work and put the first bicycle up on the stand. His first road bike, a Raleigh that he acquired, of all places, at the bike swap (see previous post)! If you remember from my previous post what I mentioned about chain stretching, the chain tool indicated wear between 0.5% and 0.75%. Not absolutely terrible, but probably a good idea to replace. Now when replacing a chain and nothing else, one has the benefit of simply removing the pre-existing chain and making the replacement the same length. Since this is the scenario we have for both bikes we are working on today, it is the one I will roll with. Before we get started, it is important to take as much tension out of the chain. Shift into the smallest cog in the back and the smallest chainring in the front. This makes removing the chain much easier. Now in order to remove the chain, a chain removal tool is needed. Its basically a threaded press that pushes a pin on the chain out allowing you to break a link. All sorts of manufacturers make them. I am partial to my Park Tool CT-5. The trick is to make sure that the pin on the press matches up with the pin on the chain.  Once the pin is pushed all the way through, simple twist and the chain should break.
  Note how I kept the pin still in the chain, at first it can be very tempting (and easy) to push the pin all the way through. DO NOT DO THIS! Getting a loose pin back into a link can result in much swearing and it best avoided. One the chain is free from the bicycle, we lined up the new chain right along side the old chain to determine how many links to remove from the new one.
  Our new chain is 116 links whereas our old chain is 111 links. Therefore, we removed 5 links from the new chain to make it the same length as the old. Installation is the same as removal, except in reverse. It is important to feed the chain through the derailleur pulleys the proper way. You know those two black wheels on the rear derailleur? Thats what we are talking about. Known as Idler wheels, Jockey wheels, or Derailleur pulleys. They feed through in sort of a reverse “S” pattern.
  This isn’t the best of pictures, but at least here the bottom half of the reverse “S” is visible. Try and imagine the top half of the reverse S. Most derailleurs have guides that let you know you have fed it through properly. Once fed through the derailleur, grab the trusty Park Tool CT-5, and push that pin back into the chain link, reconnecting it.
  Sometimes pushing a new pin into a chain link will make it stiff and less flexible. Some oil and some pressure applied by bending the chain back and forth should loosen it right up. Once the chain is properly linked, it is time to see how it looks in extremes. Specifically, keep an eye out that the chain is not rubbing against itself in the smallest setting (smallest cog in the back and smallest chainring in the front).
  It is not super easy to see here, but I actually do not like how the chain is either rubbing already against itself, or awfully close. I’m thinking we should remove a link, but before that I want to see how it looks in the “big” extreme setting. With the biggest setting, (largest cog in back and largest chainring in front) make sure that the derailleur is able to shift all the way up into the biggest cog.
 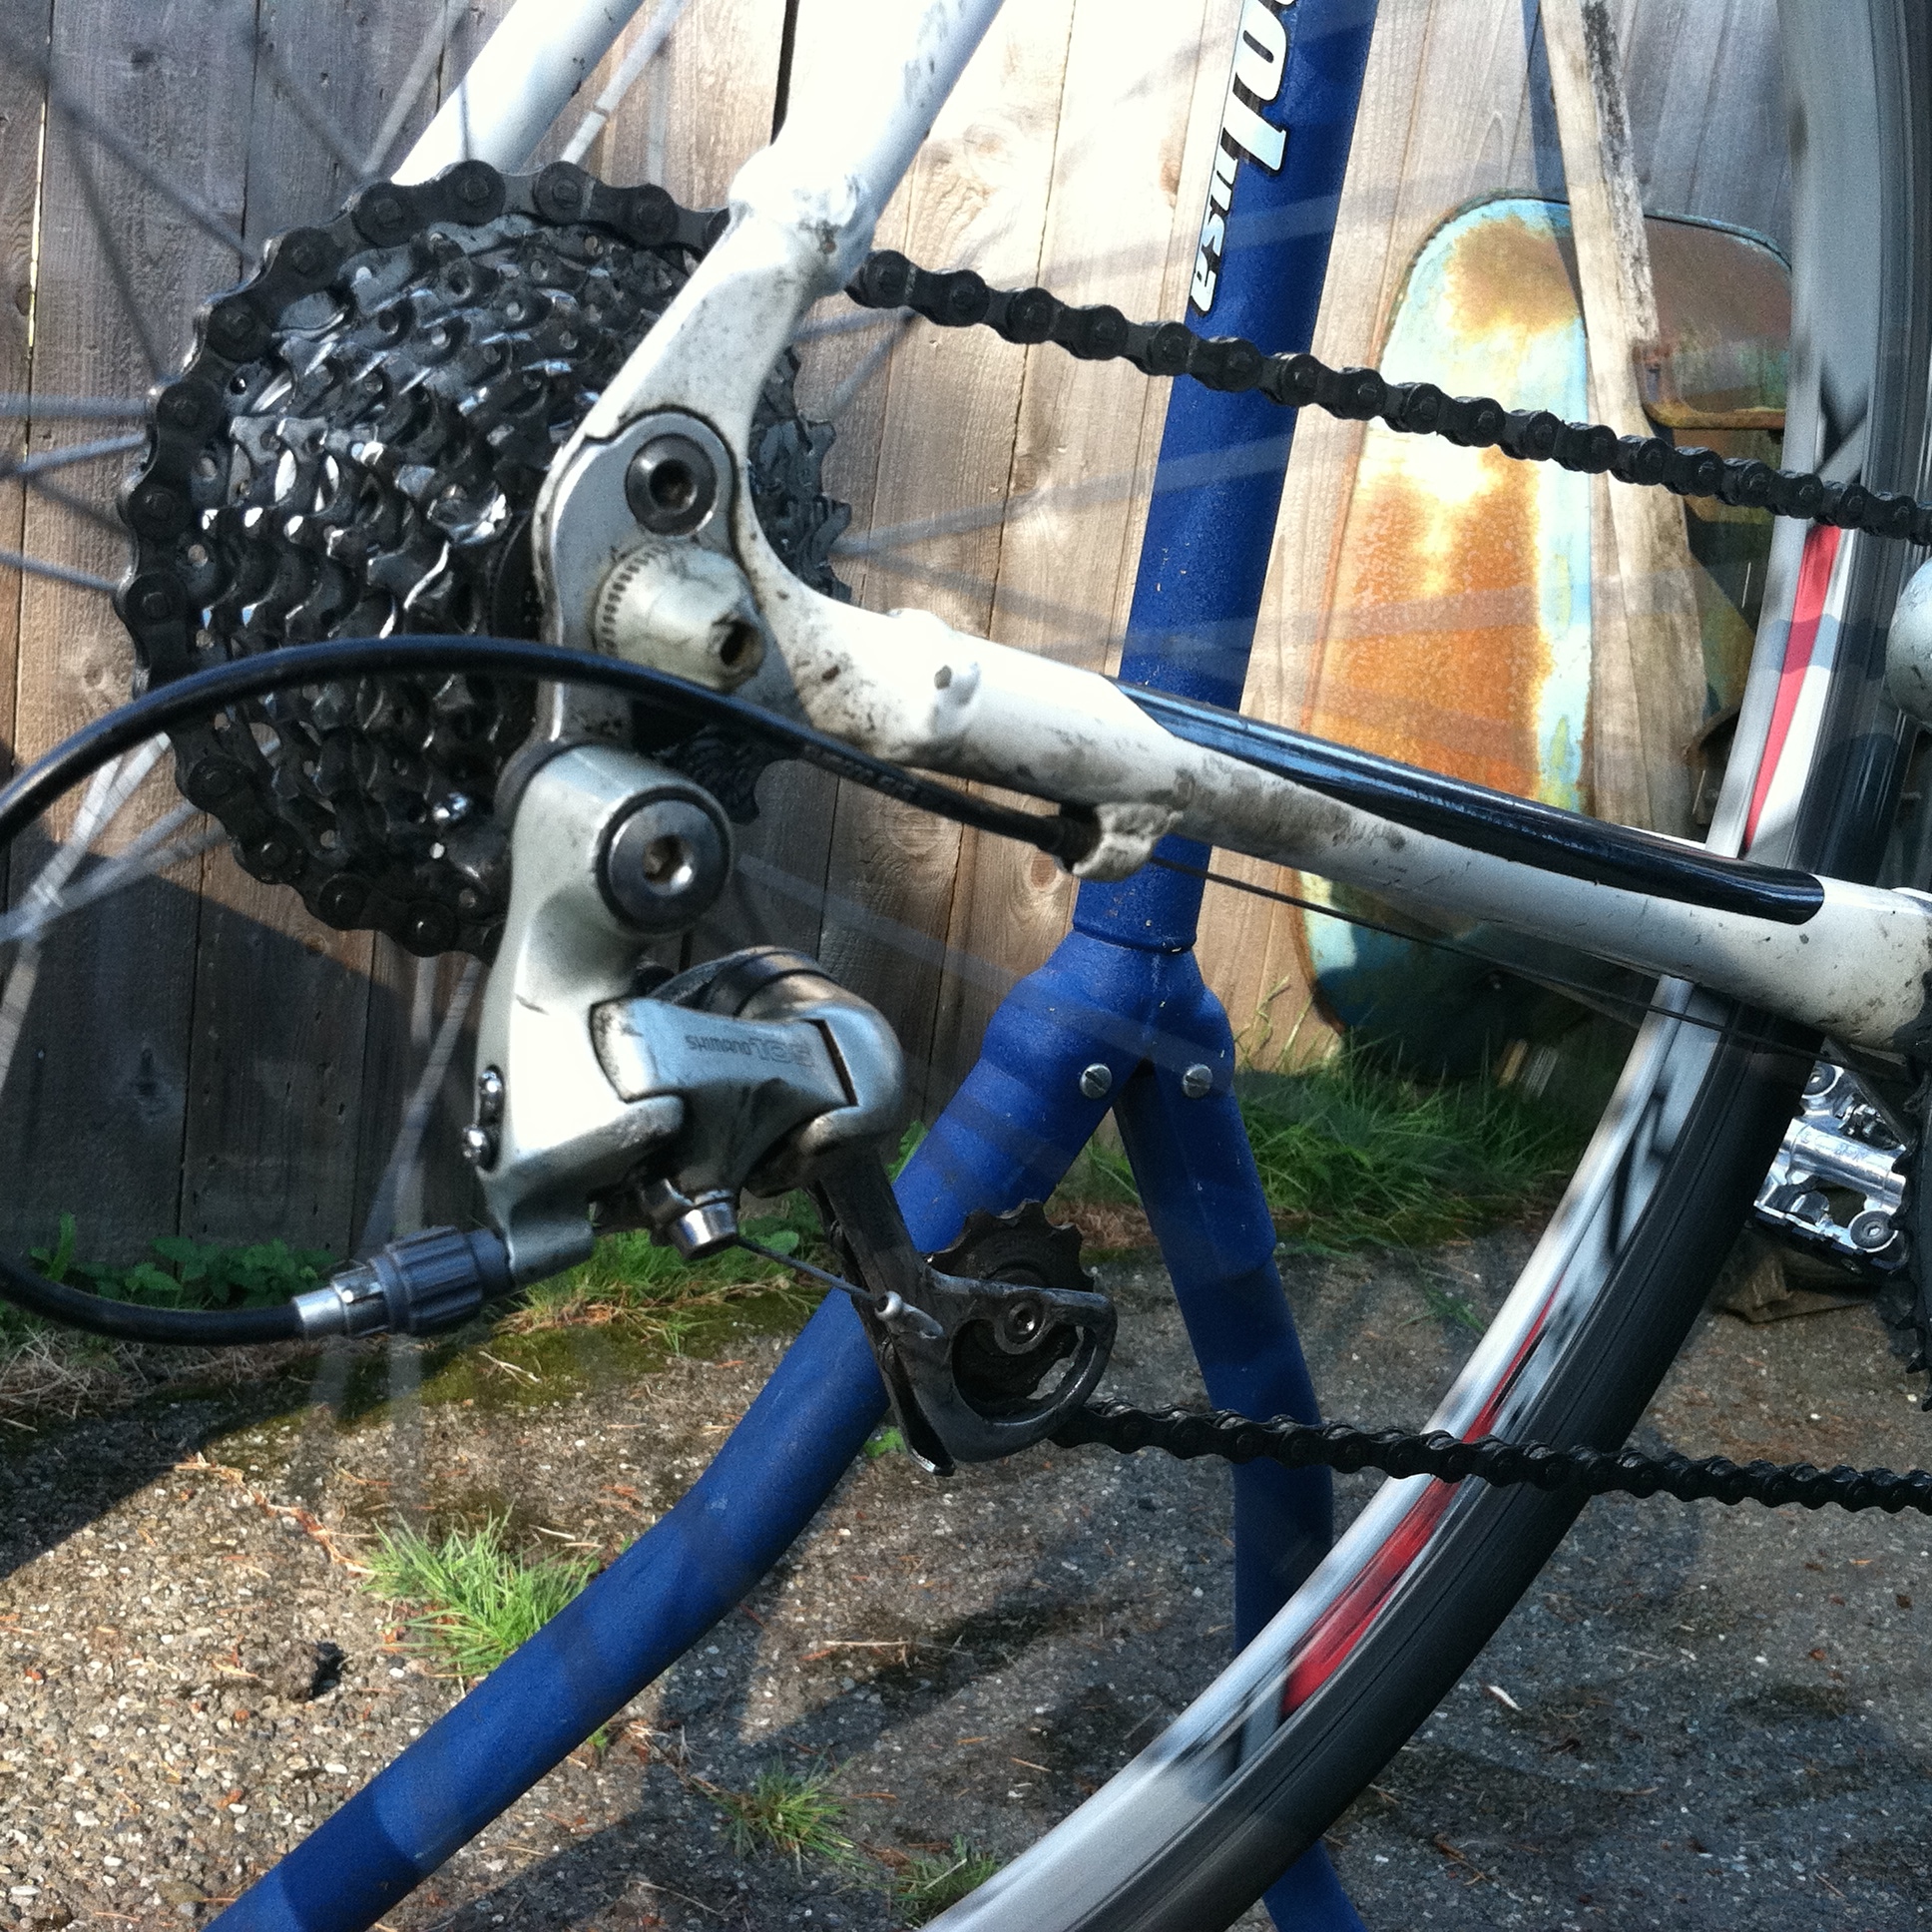 So this looks alright. Since I would like to take a link out, I am also looking to see if it could handle having another link removed. It looks like it can, so lets remove another link! After removing a link (done the same was as above) this is what the “smallest” extreme looked like You can see the gap between the chain and the derailleur shift arm has gotten larger. This satisfies us. We also check the “big” extreme again. All systems go! This was an interesting replacement, as the assumption that the chain was installed with the proper number of links turned out to be incorrect. Would the bike performed functionally with extra links in the chain? It already had for a couple thousand miles. Still it is nice to have equipment dialed in properly, and a bicycle is no exception. Moving on to the next bicycle, I think I will save you a complete rehash (I forgot to take some photos). The second change was smoother than the first. We debated about taking out another link but Joe wanted to ride it and let me know as it wasn’t as bad as the first chain. After we were done, we lubricated both chains by applying oil dropwise while pedaling and shifting through all of the gears. The is an important step to ensure that you get as many miles out of a chain by protecting it from dirt, road grime, and water. In summation, chains are pretty neat to work on. Making sure that the chain length is right is integral to a positive bicycle riding experience. If possible, wear gloves. UP NEXT: I want to talk locally a little bit.
-
Subscribe
Subscribed
Already have a WordPress.com account? Log in now.
