Ok so after a fun filled morning, re-depositing my unspent money from the bonus bike swap back into the bank (never, ever happens), and some fuel in the form lamb gyro goodness, I head over to install two chains on two bikes belonging to Joe, one of the, “bike buddies” but also the father of Jenica. We get right to work and put the first bicycle up on the stand. His first road bike, a Raleigh that he acquired, of all places, at the bike swap (see previous post)! If you remember from my previous post what I mentioned about chain stretching, the chain tool indicated wear between 0.5% and 0.75%. Not absolutely terrible, but probably a good idea to replace. Now when replacing a chain and nothing else, one has the benefit of simply removing the pre-existing chain and making the replacement the same length. Since this is the scenario we have for both bikes we are working on today, it is the one I will roll with. Before we get started, it is important to take as much tension out of the chain. Shift into the smallest cog in the back and the smallest chainring in the front. This makes removing the chain much easier. Now in order to remove the chain, a chain removal tool is needed. Its basically a threaded press that pushes a pin on the chain out allowing you to break a link. All sorts of manufacturers make them. I am partial to my Park Tool CT-5. The trick is to make sure that the pin on the press matches up with the pin on the chain.  Once the pin is pushed all the way through, simple twist and the chain should break.
  Note how I kept the pin still in the chain, at first it can be very tempting (and easy) to push the pin all the way through. DO NOT DO THIS! Getting a loose pin back into a link can result in much swearing and it best avoided. One the chain is free from the bicycle, we lined up the new chain right along side the old chain to determine how many links to remove from the new one.
  Our new chain is 116 links whereas our old chain is 111 links. Therefore, we removed 5 links from the new chain to make it the same length as the old. Installation is the same as removal, except in reverse. It is important to feed the chain through the derailleur pulleys the proper way. You know those two black wheels on the rear derailleur? Thats what we are talking about. Known as Idler wheels, Jockey wheels, or Derailleur pulleys. They feed through in sort of a reverse “S” pattern.
  This isn’t the best of pictures, but at least here the bottom half of the reverse “S” is visible. Try and imagine the top half of the reverse S. Most derailleurs have guides that let you know you have fed it through properly. Once fed through the derailleur, grab the trusty Park Tool CT-5, and push that pin back into the chain link, reconnecting it.
  Sometimes pushing a new pin into a chain link will make it stiff and less flexible. Some oil and some pressure applied by bending the chain back and forth should loosen it right up. Once the chain is properly linked, it is time to see how it looks in extremes. Specifically, keep an eye out that the chain is not rubbing against itself in the smallest setting (smallest cog in the back and smallest chainring in the front).
  It is not super easy to see here, but I actually do not like how the chain is either rubbing already against itself, or awfully close. I’m thinking we should remove a link, but before that I want to see how it looks in the “big” extreme setting. With the biggest setting, (largest cog in back and largest chainring in front) make sure that the derailleur is able to shift all the way up into the biggest cog.
 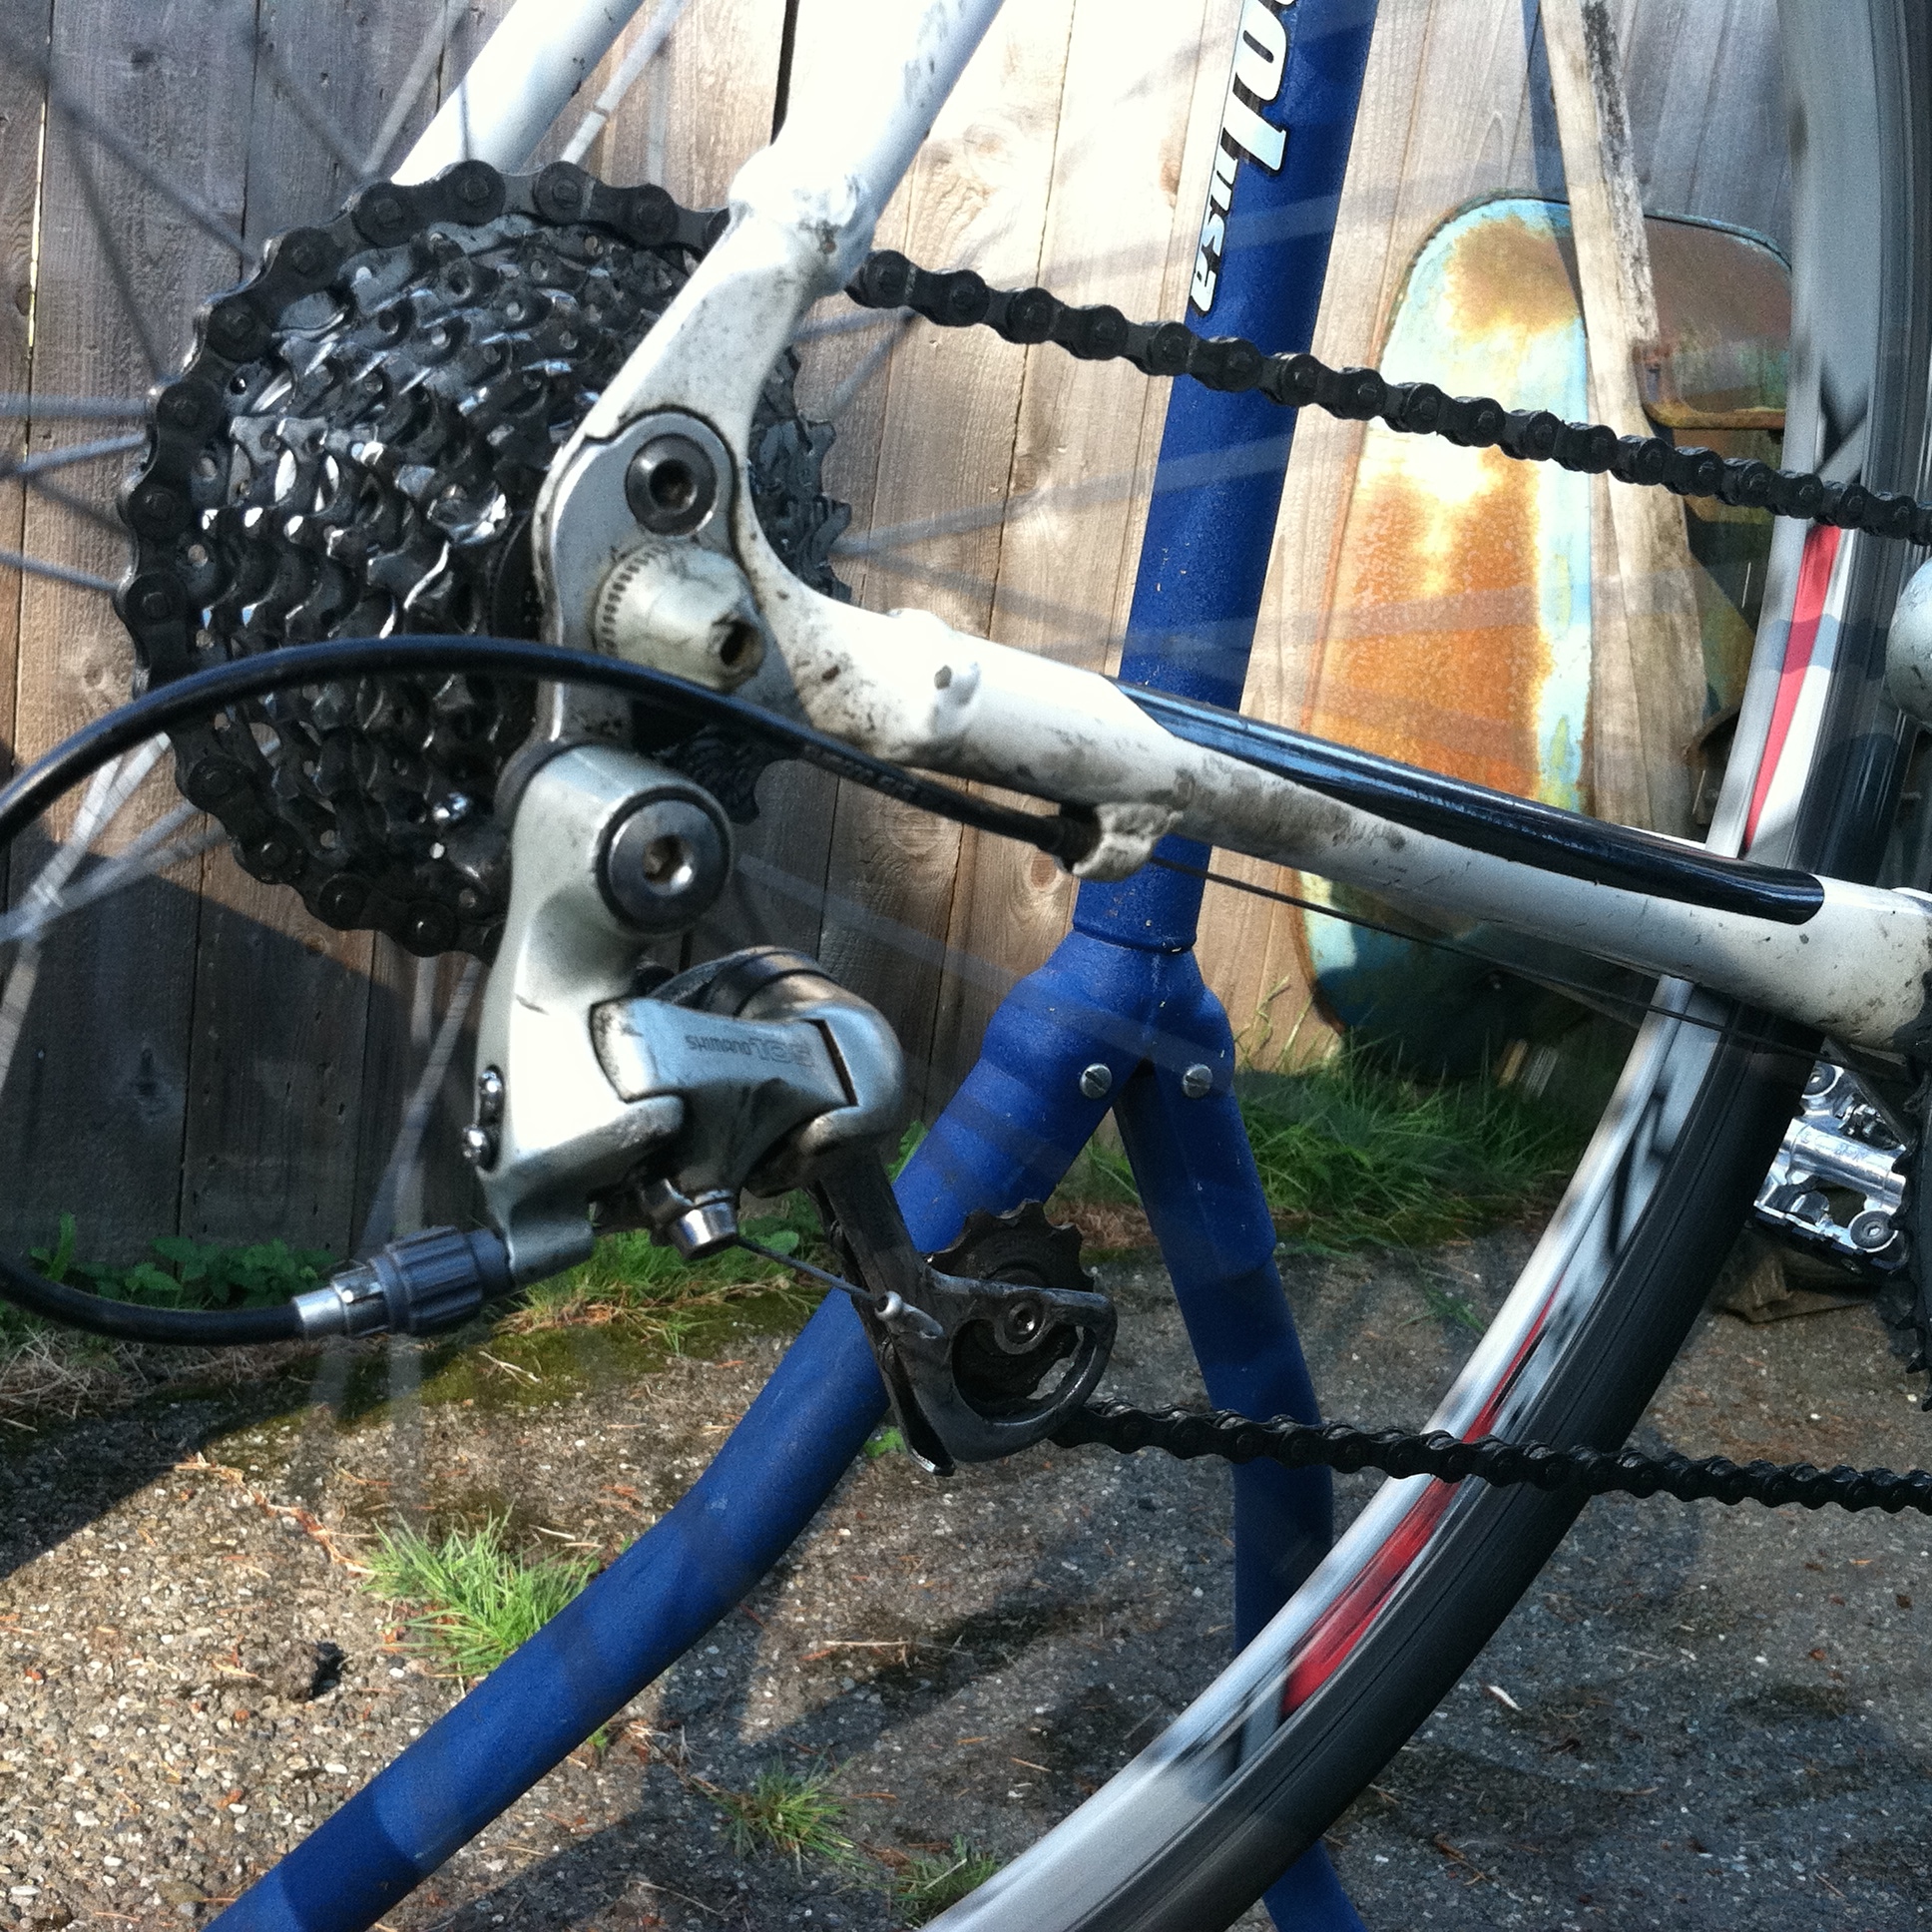 So this looks alright. Since I would like to take a link out, I am also looking to see if it could handle having another link removed. It looks like it can, so lets remove another link! After removing a link (done the same was as above) this is what the “smallest” extreme looked like You can see the gap between the chain and the derailleur shift arm has gotten larger. This satisfies us. We also check the “big” extreme again. All systems go! This was an interesting replacement, as the assumption that the chain was installed with the proper number of links turned out to be incorrect. Would the bike performed functionally with extra links in the chain? It already had for a couple thousand miles. Still it is nice to have equipment dialed in properly, and a bicycle is no exception. Moving on to the next bicycle, I think I will save you a complete rehash (I forgot to take some photos). The second change was smoother than the first. We debated about taking out another link but Joe wanted to ride it and let me know as it wasn’t as bad as the first chain. After we were done, we lubricated both chains by applying oil dropwise while pedaling and shifting through all of the gears. The is an important step to ensure that you get as many miles out of a chain by protecting it from dirt, road grime, and water. In summation, chains are pretty neat to work on. Making sure that the chain length is right is integral to a positive bicycle riding experience. If possible, wear gloves. UP NEXT: I want to talk locally a little bit.
Bike Chains
A Shoutout to Chains!
Chains have been on the mind recently. Of all of the components on a bike, I think one would be hard pressed to find one as under-appreciated as the chain. The chain is directly responsible for transferring all that torque when one pedals, to spinning the (rear) wheel. As bicyclists, we are told that roughly every 2500-3000 miles we should spend 20-50 bucks on a replacement. To go longer than that, one risks unnecessary wear on the more spendy parts on the drivetrain (cassette, chainrings etc..).

My very own Park Tool CC-3.2!
If you are anything like me, arbitrary numbers like how many miles before service, is a rule that I aim to break (just ask the people that change the oil on my car). I want to make sure that when I actually do replace any components on my bike that they are actually in need of replacement. There has to be a measurement (I am a chemist by trade), that indicates that a chain is in need of replacement. Enter the Park CC-3.2 ! For 11 dollars, I now know when a chain has worn .5% or .75% or more! What exactly does that mean and why do I care? All of the aforementioned torque provided by the muscles in ones legs is pulling the chain apart ever so slowly. One link on the chain is being pushed by one tooth on the cassette.
At the same time, one link is being pulled (same direction) by a tooth on the chainring. Speed things up, all of the teeth on both the cassette and the chainrings take turns as do the links on the chain (as you pedal). Ever wonder why the smaller chainrings tend to wear out faster than the larger ones? One of the main reasons is because there are less teeth to take a turn before they are up again!

After putting the chain in the 0.5% of the Park Tool CC-3.2 Chain wear indicator, we see that the chain has stretched at least 0.5%.

The very same chain, we now test for 0.75% wear. Since it is not a fit, (it doesn’t notch down), we can conclude that the wear of this chain is somewhere between 0.5% and 0.75%.
The first couple thousand miles the chain can handle the pushing and pulling no problem, but eventually that poor chain relents and starts to give in and stretch. It only has to stretch 0.5%-0.75% from its original length before it is trash. Why you might ask?

Here is a brand-new chainring. Notice the symmetry on each of the “teeth.”
Well, suppose you ignore the rules and keep riding, whats the big deal? Lets suppose the chain has now stretched 1% longer than what it started as. Now, each link in the chain is linking up with the teeth on the cassette and chainrings 1% away from where it started. Remember before how we learned how robust chains were? Well, this is intentional and the result of the chain being constructed of extremely hard, brittle metal alloys. Harder than those used on both cassettes and chainrings. Slowly after time, in the battle waged between the chain, and the cassette or chainrings, the chain will “win” and start to wear the others to this new stretched pattern. This mere 1% shift in chain alignment begins to manifest itself in ways such as sloppy shifting and jumping cogs.

Here is a worn chainring. This came off a friends bike. He was having some skipping and his shifting was not smooth-this was a culprit.
Eventually, the wear will get to the point where the chain, cassette, and chainrings will all have to be replaced simultaneously, as all have worn to the imperfections of each other. Think of it as an old group of friends or drinking buddies, that have been meeting up weekly over the years. Do you really think a newcomer could break into that?
In summation: Check your chain for wear periodically! Sure, be a rebel and go a couple extra thousand miles (I do every time I get my oil changed), but if you are going to push the envelope, get yourself a Park Tool CC-3.2, and be aware of the potential consequences.
UP NEXT: Eager to use my new chain wear tool, I find that Jenica’s dad is in need of new chains on both of his bikes. We are going to install them and make sure that both shift like new when we are finished. Stay Tuned!
